Winter Container Design
Spruce Tips and accent Boughs are now available!
3 Steps to Create a Finished Look
By: Christina T.

Spruce tip pots can help enhance our gloomy winters. The saying, “Spruce it up,” didn’t come from nowhere. Greens help soften your home and adds fresh color when it’s hard to come by during the winter. Winter containers come in many different sizes and styles. There is no wrong way to create a spruce tip pot. If you’re are new to winter containers, here are a few tips and tricks to get started.
Step 1: Container & Visual Orientation

Before you get started think about the size you will need for your space. For larger spaces consider a container size of 15” or greater. For smaller spaces, like an entry way, consider a container size of 11” or smaller. The most common size we create is a 12” or 13” container.
Once container size is established consider how your container is going to be seen or the visual orientation. If your container is up against a house or structure, place your focus primarily on the front and sides when adding your greens and accents. If your container is going to be out in the open and seen from every angle, place your focus evenly around the entire container.
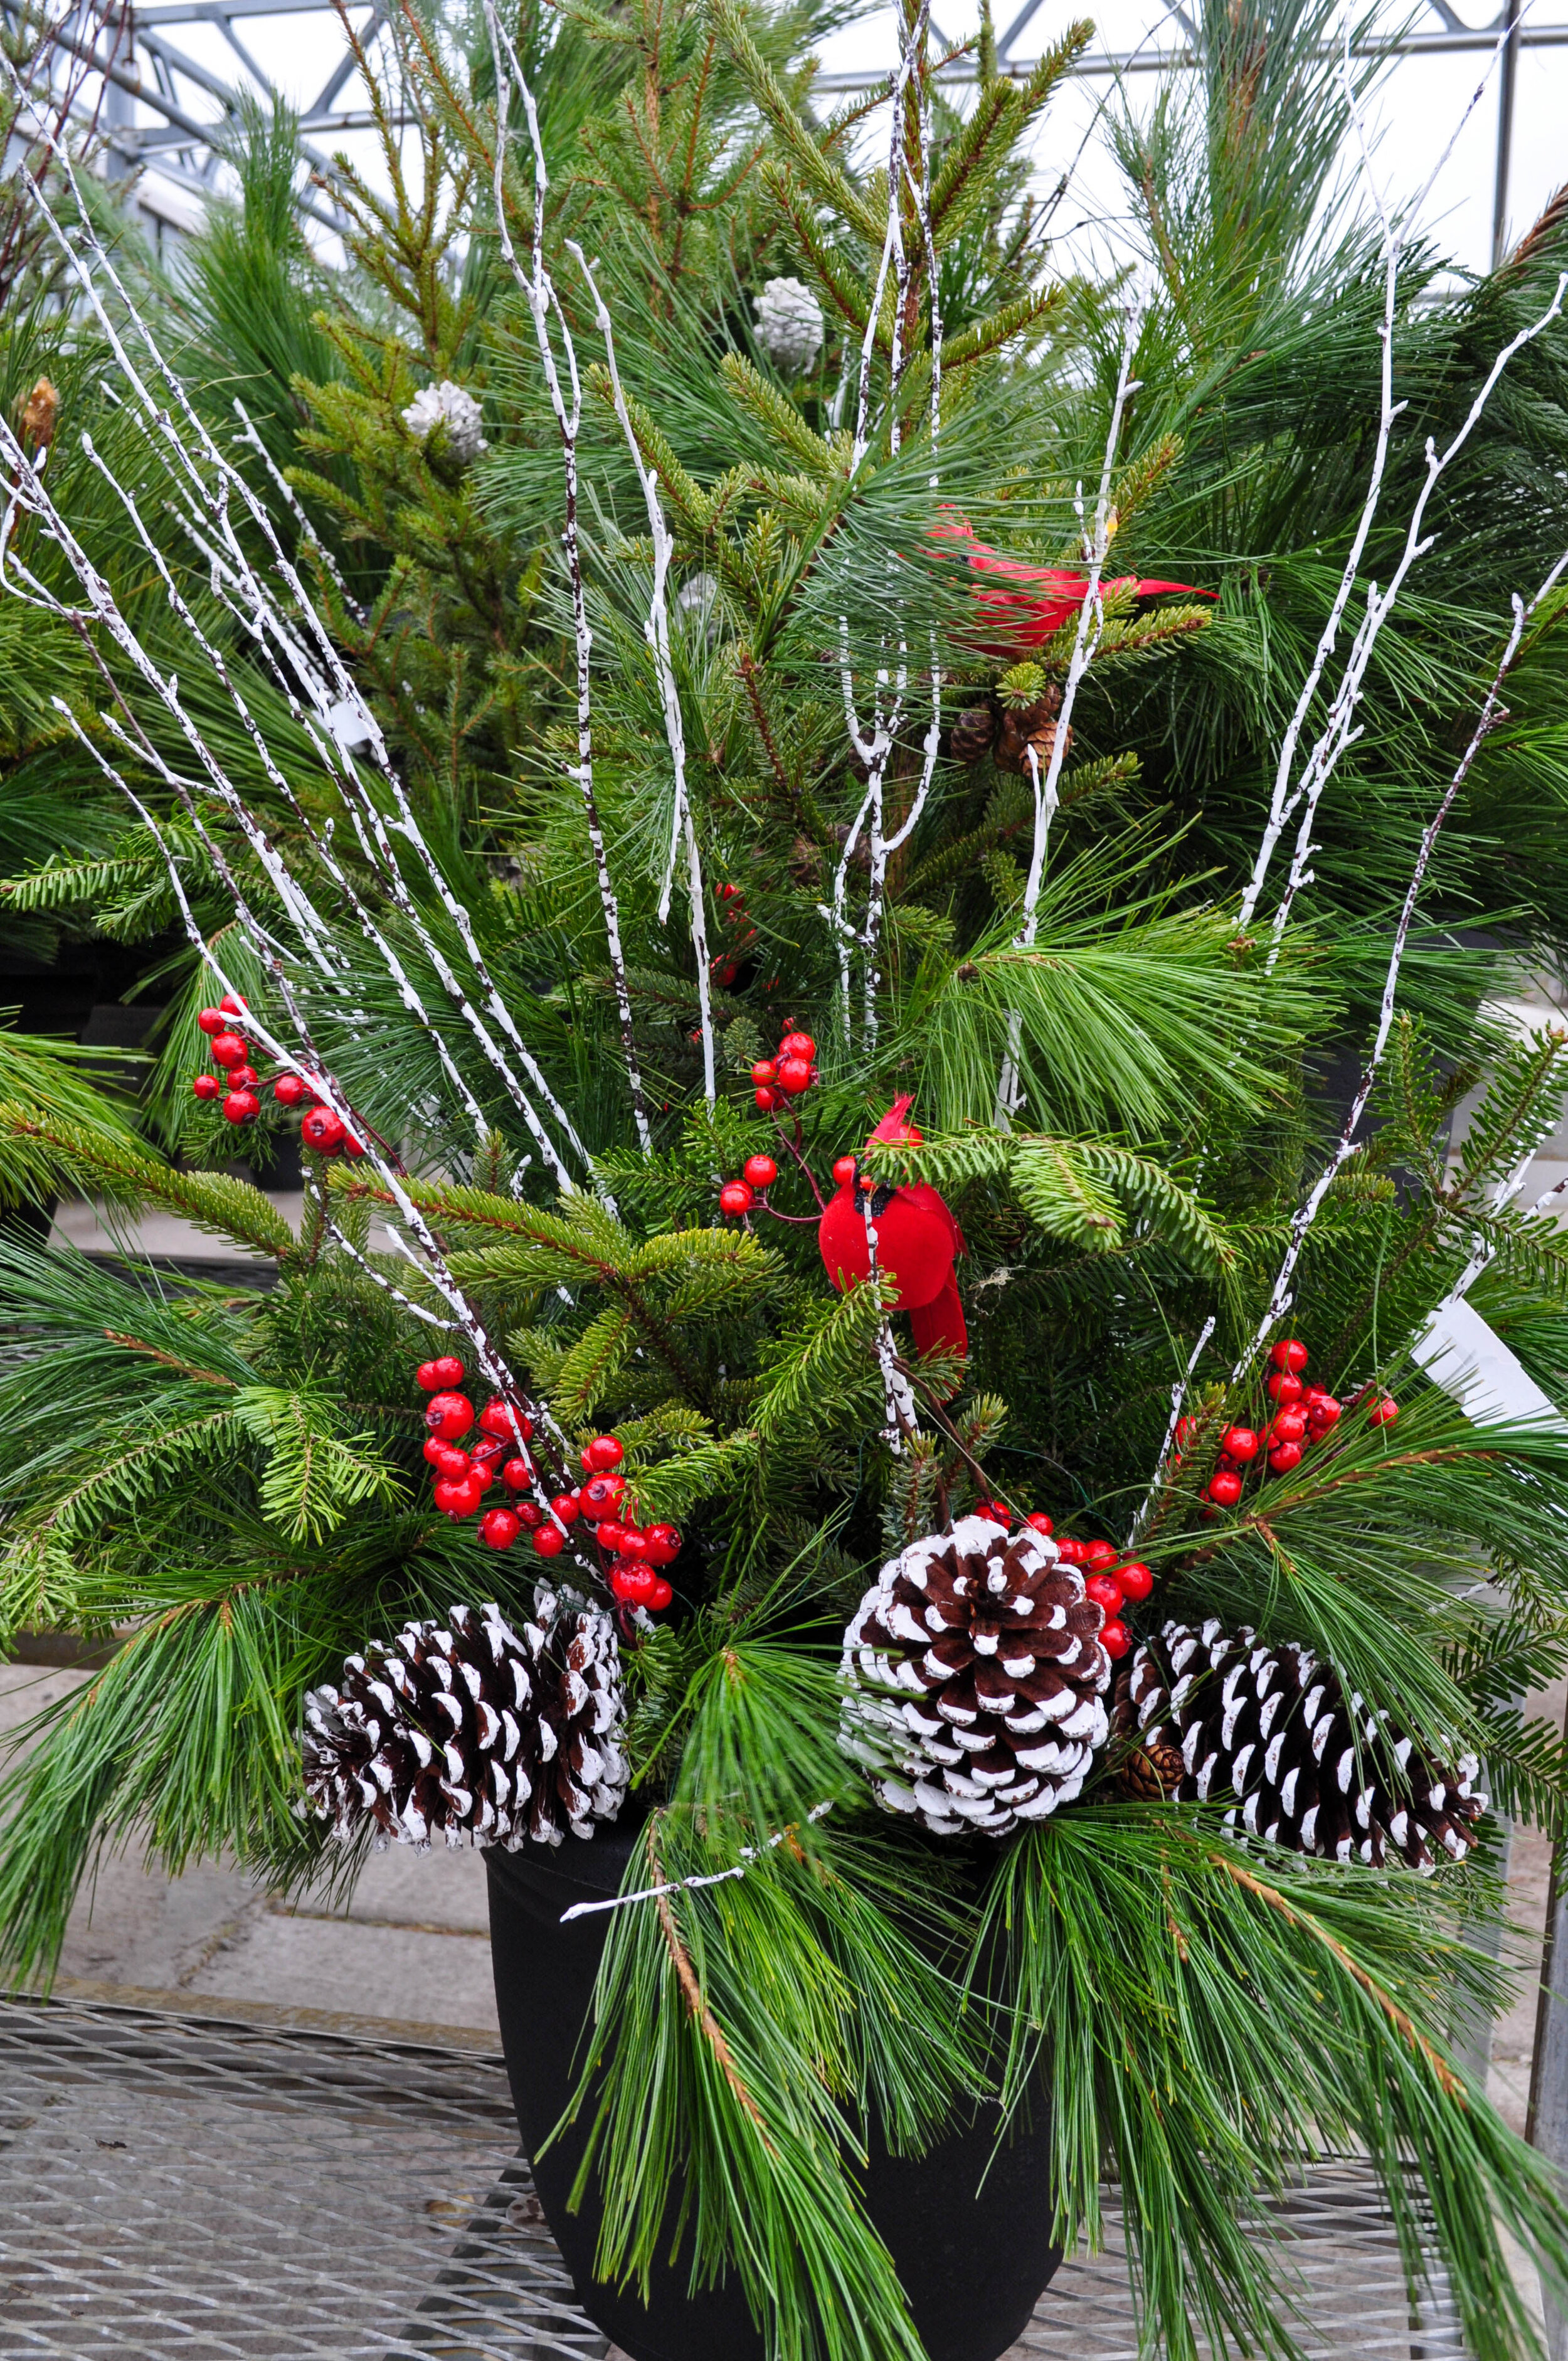
Step 2: Spruce Tips & Accent Greens

With every container we create we like to incorporate Spruce Tips and at least 2 other accent greens like Norway Pine and White Pine. However, there are many different types of accent greens to choose from. Juniper, Cedar, and Noble are just a few. Adding a variety of greens helps add texture and layers to your container.
The advice I give at our workshops is to think of the greens like fresh cut flowers. When you bring a bouquet of flowers home, one of the first things you do is cut the stems to create a fresh cut. Use this same concept on all your greens. When cutting each branch, be sure to cut them at an angle. Not only does this allow the branch to ease into the soil but it also allows the branch to absorb moisture and the water that is in the soil. This will help keep your greens as fresh as possible.
How to arrange your greens:

Remember your visual orientation!
Back to Front: If your container will be up against a house or structure start by adding your tallest Spruce Tips in the back working shorter tips to the front.
Middle and Out: If your container will be out in the open and seen from all angles, start by adding your tallest Spruce Tip in the center working shorter tips evenly around.
Adding your accent greens: Taller Norway Pine and White Pine can be mingled with your Spruce Tips. Most branches have a natural curve to them. Placing this curve inward or outward will create different looks. By placing the branch to curve outward it will create a fuller, looking design, whereas placing the branch to curve inward will create an elongated, elegant design. Shorter Norway Pine and White Pine branches can be added along the edge of the container to create a soft, layered skirt.
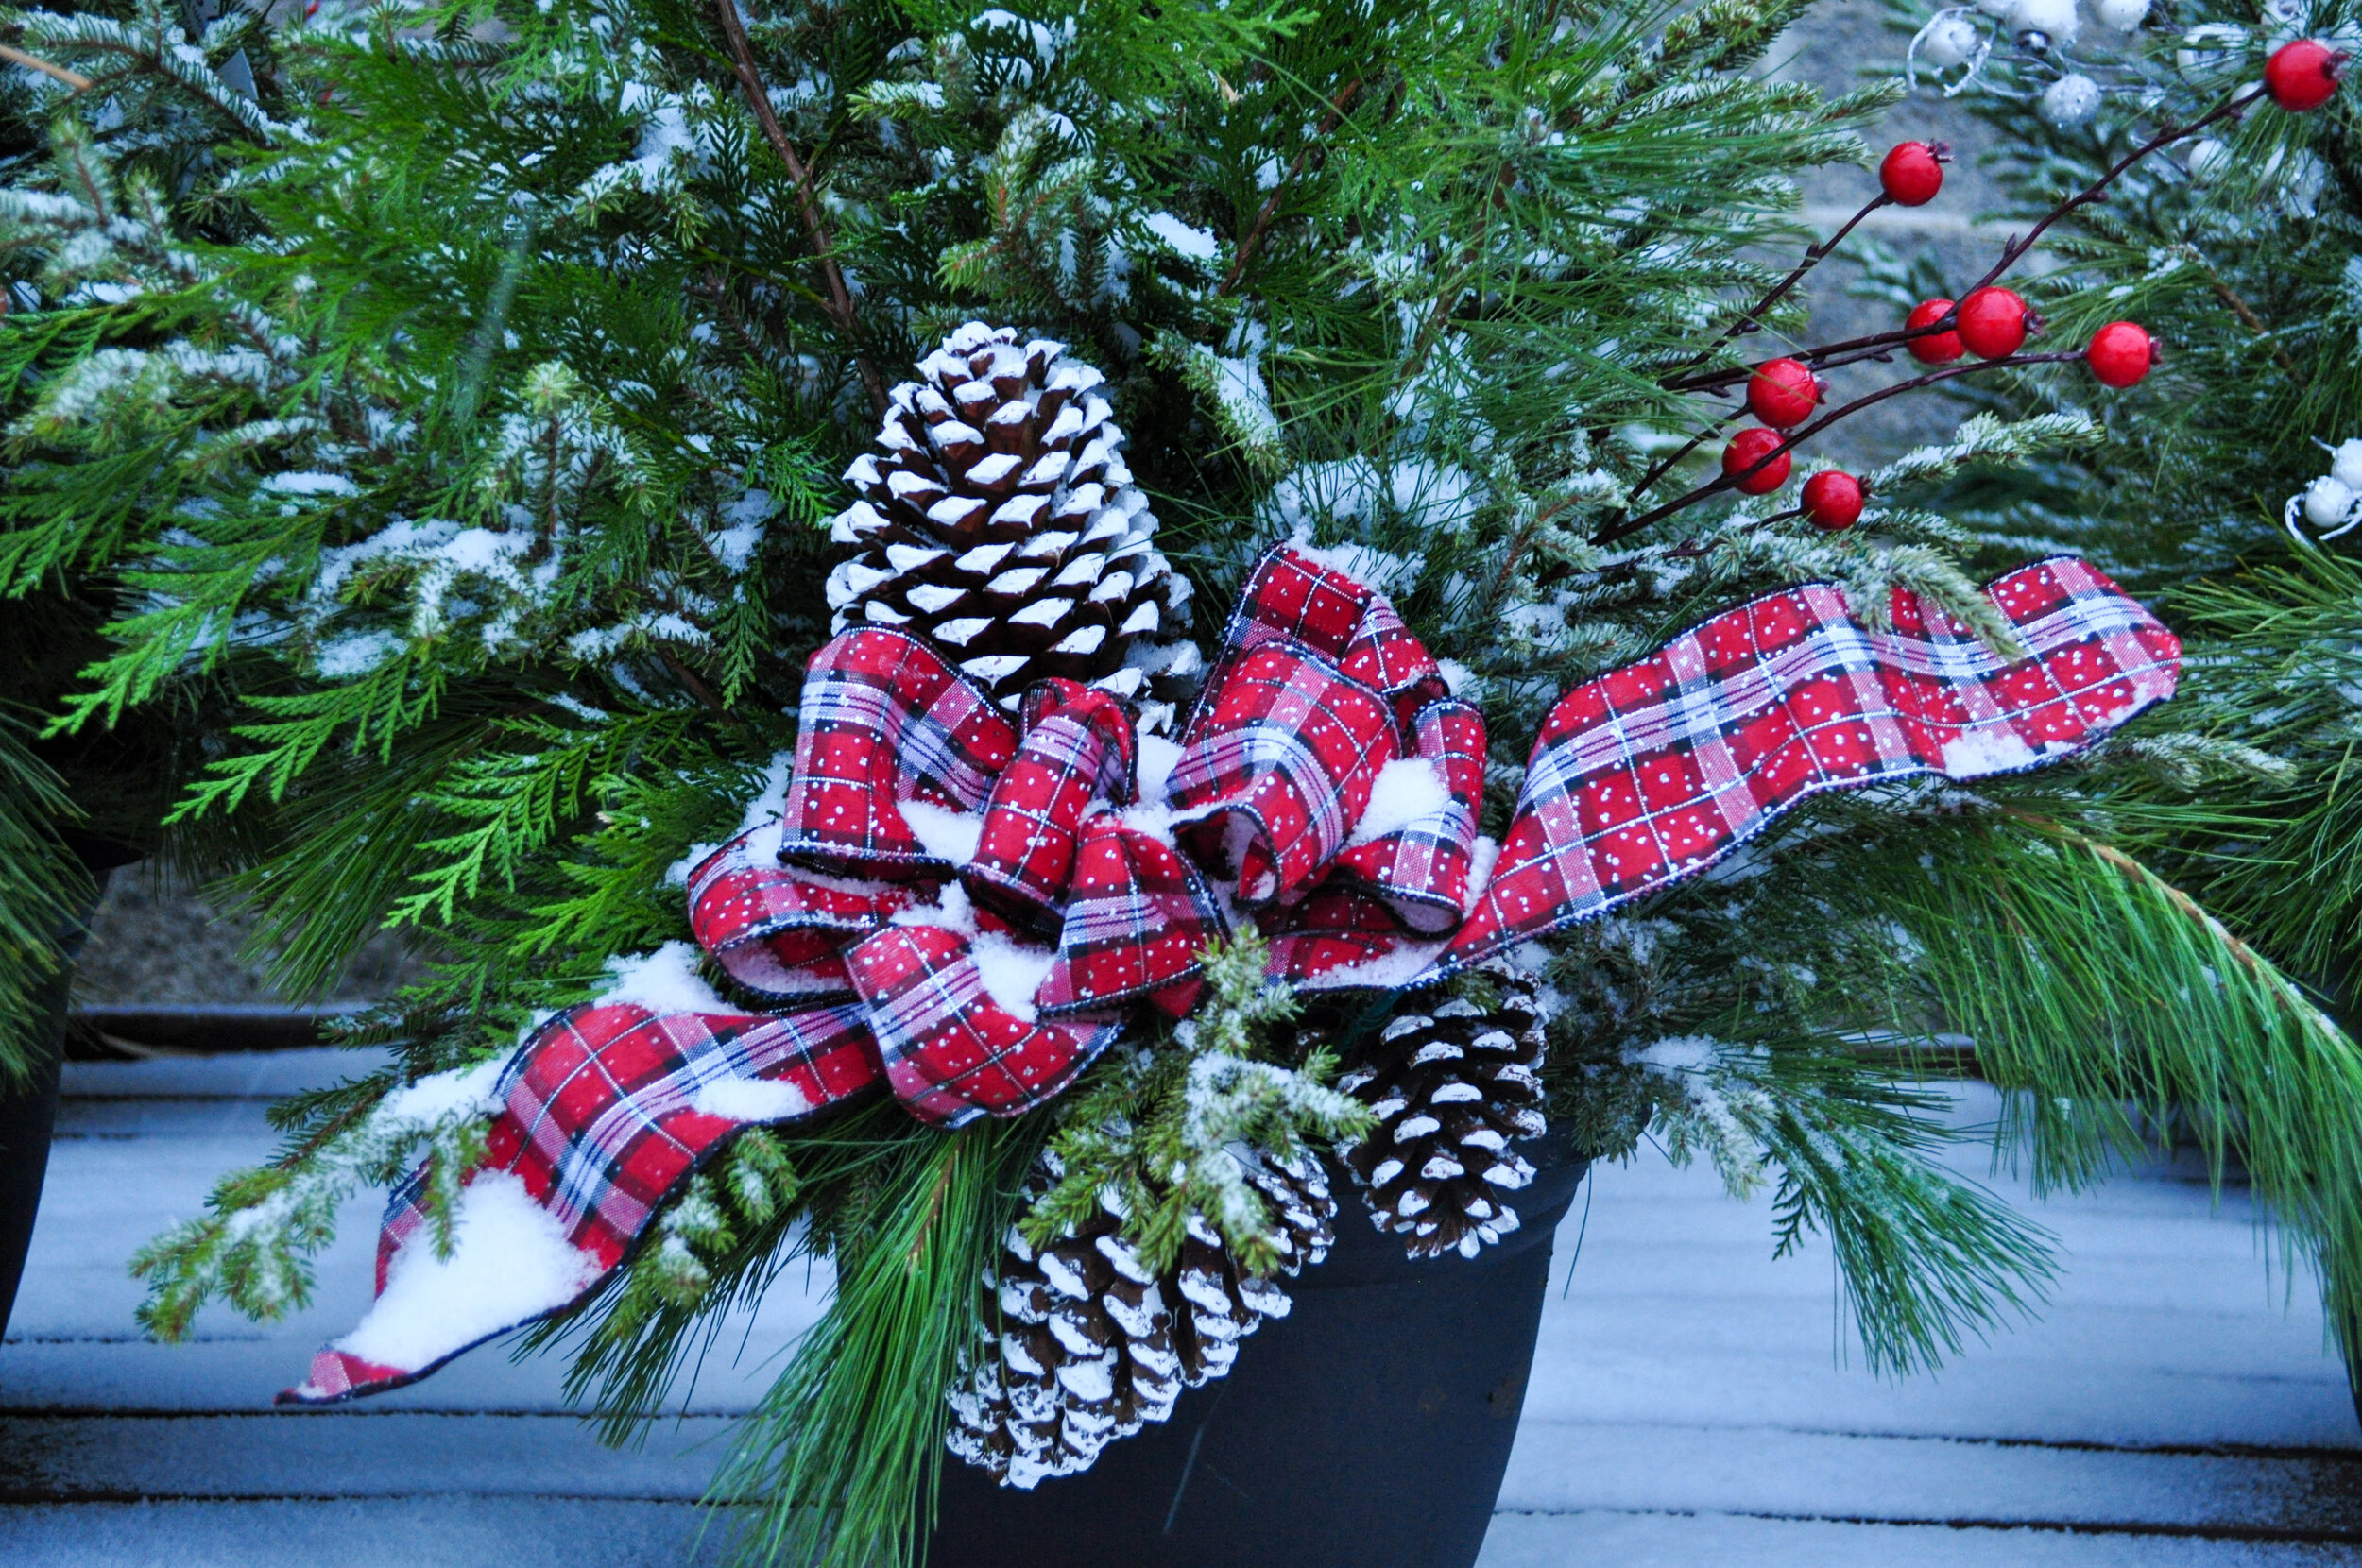
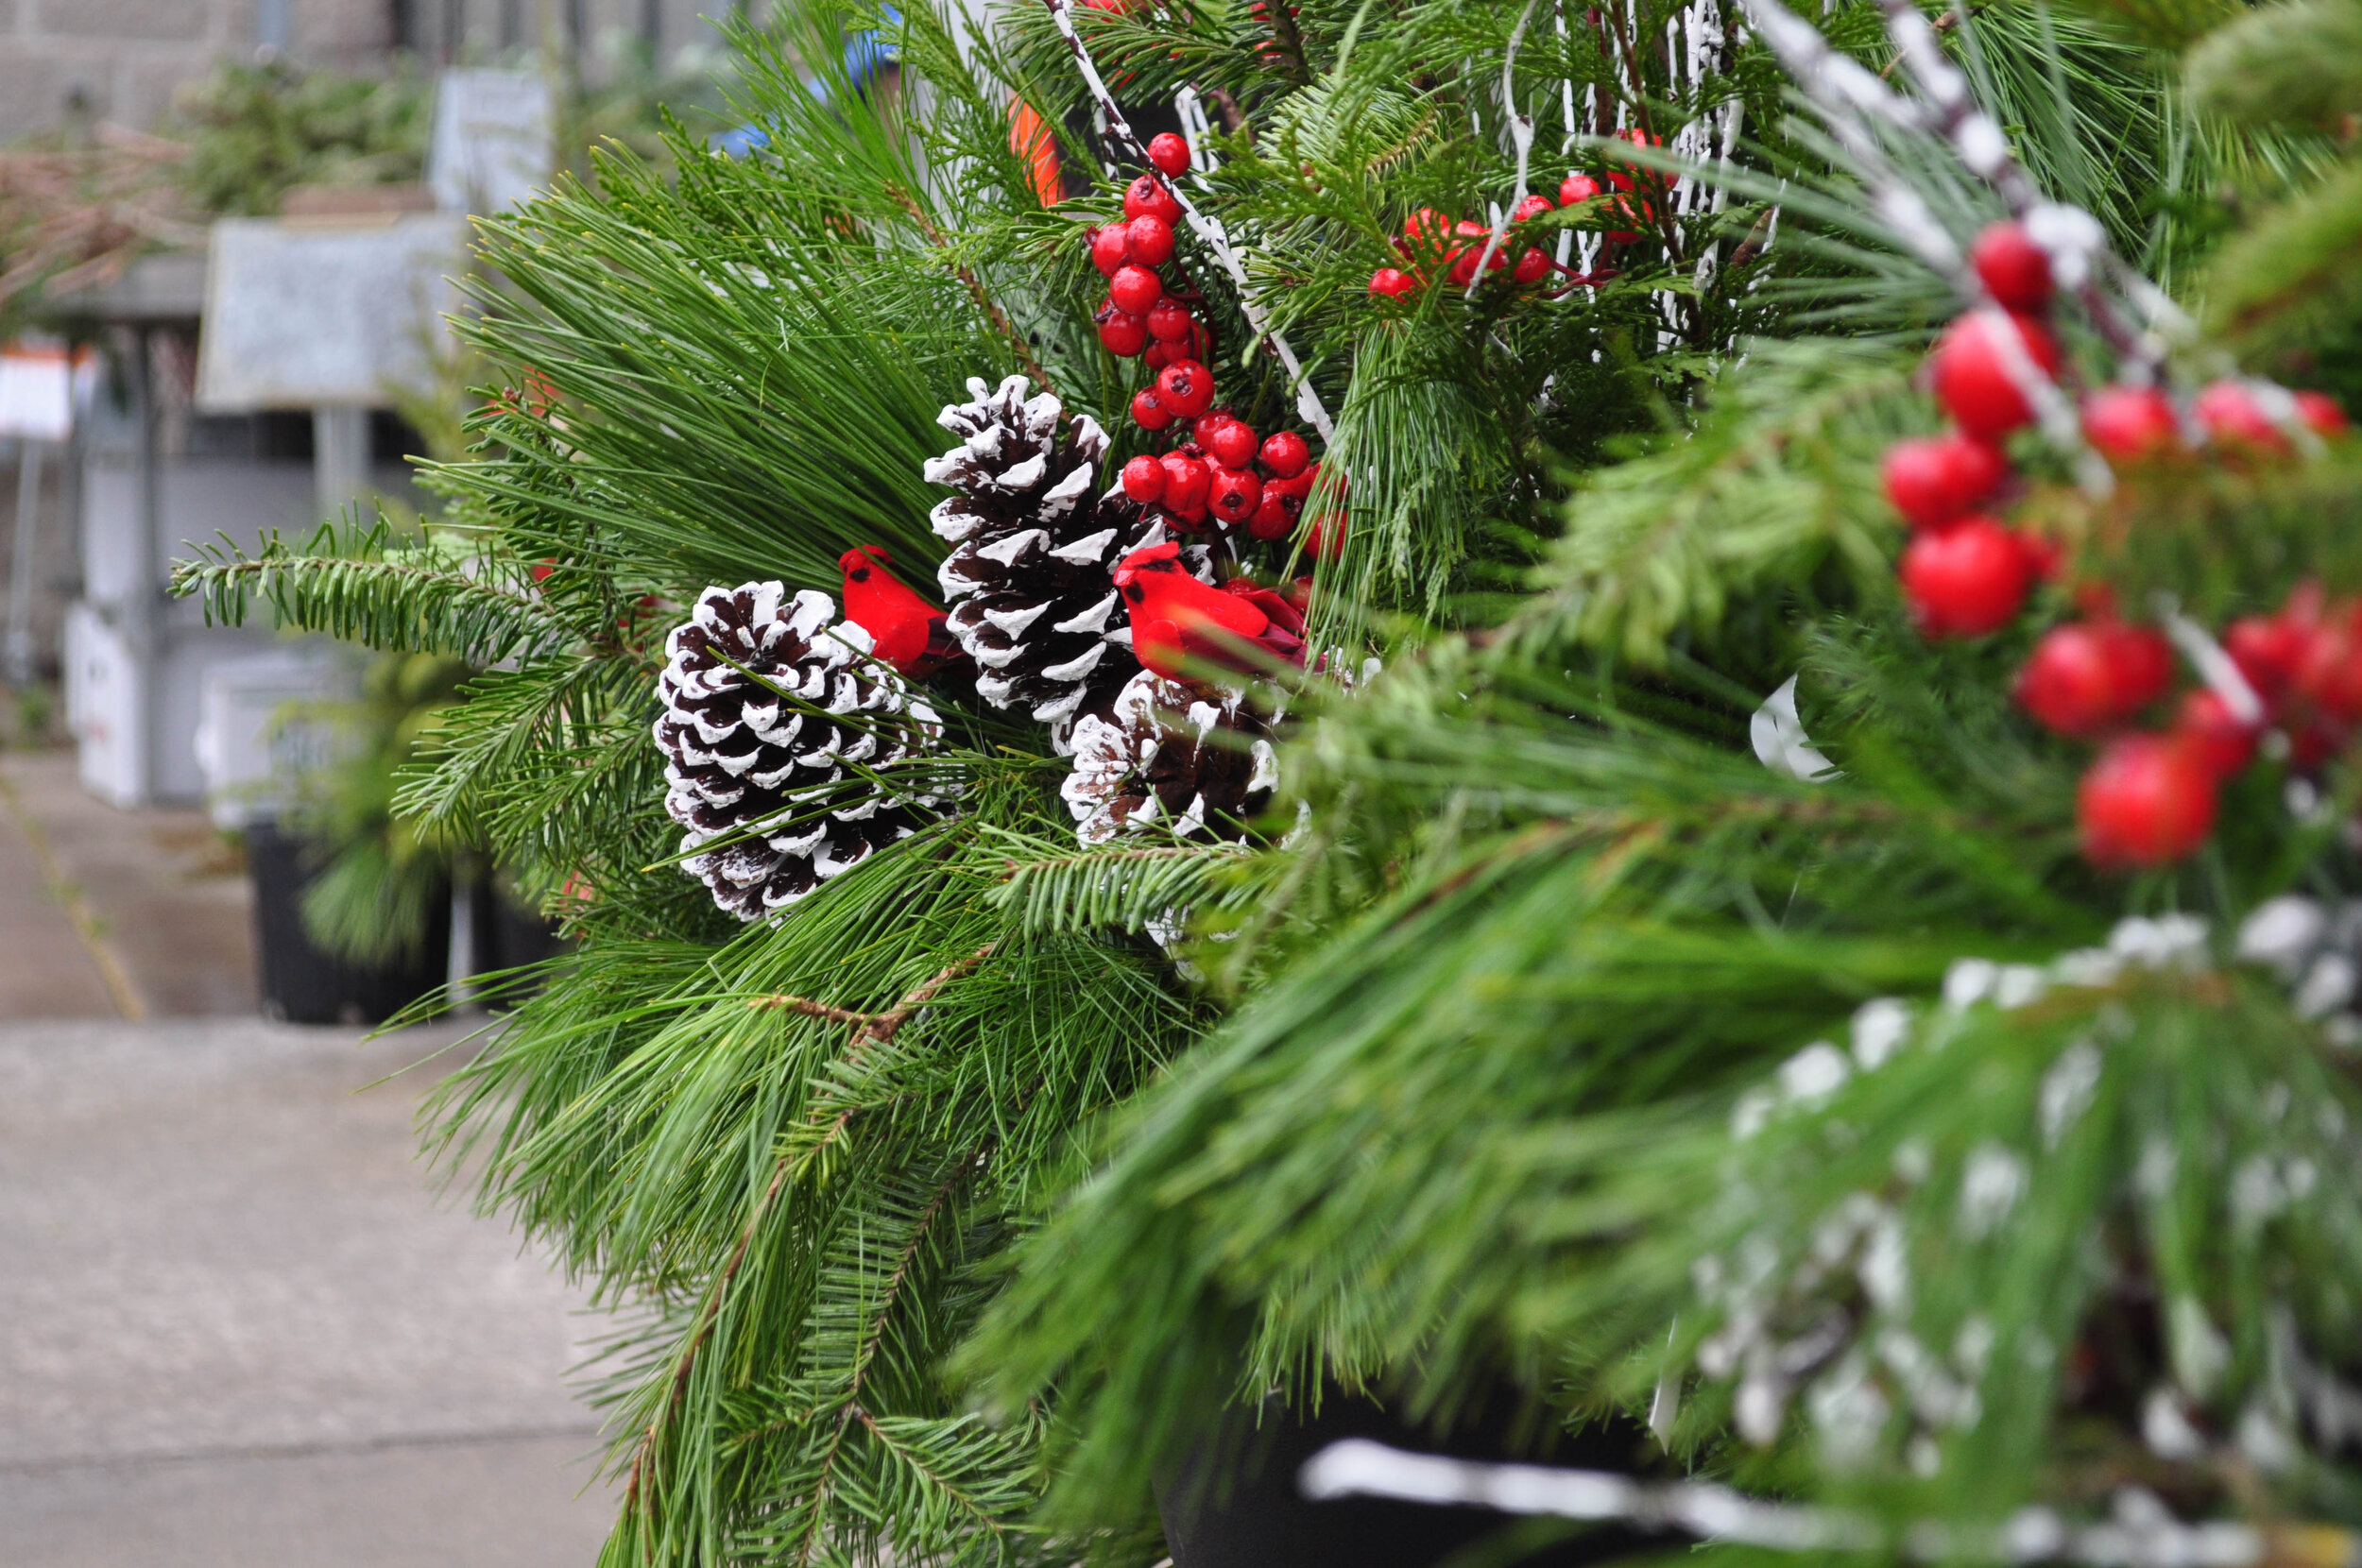
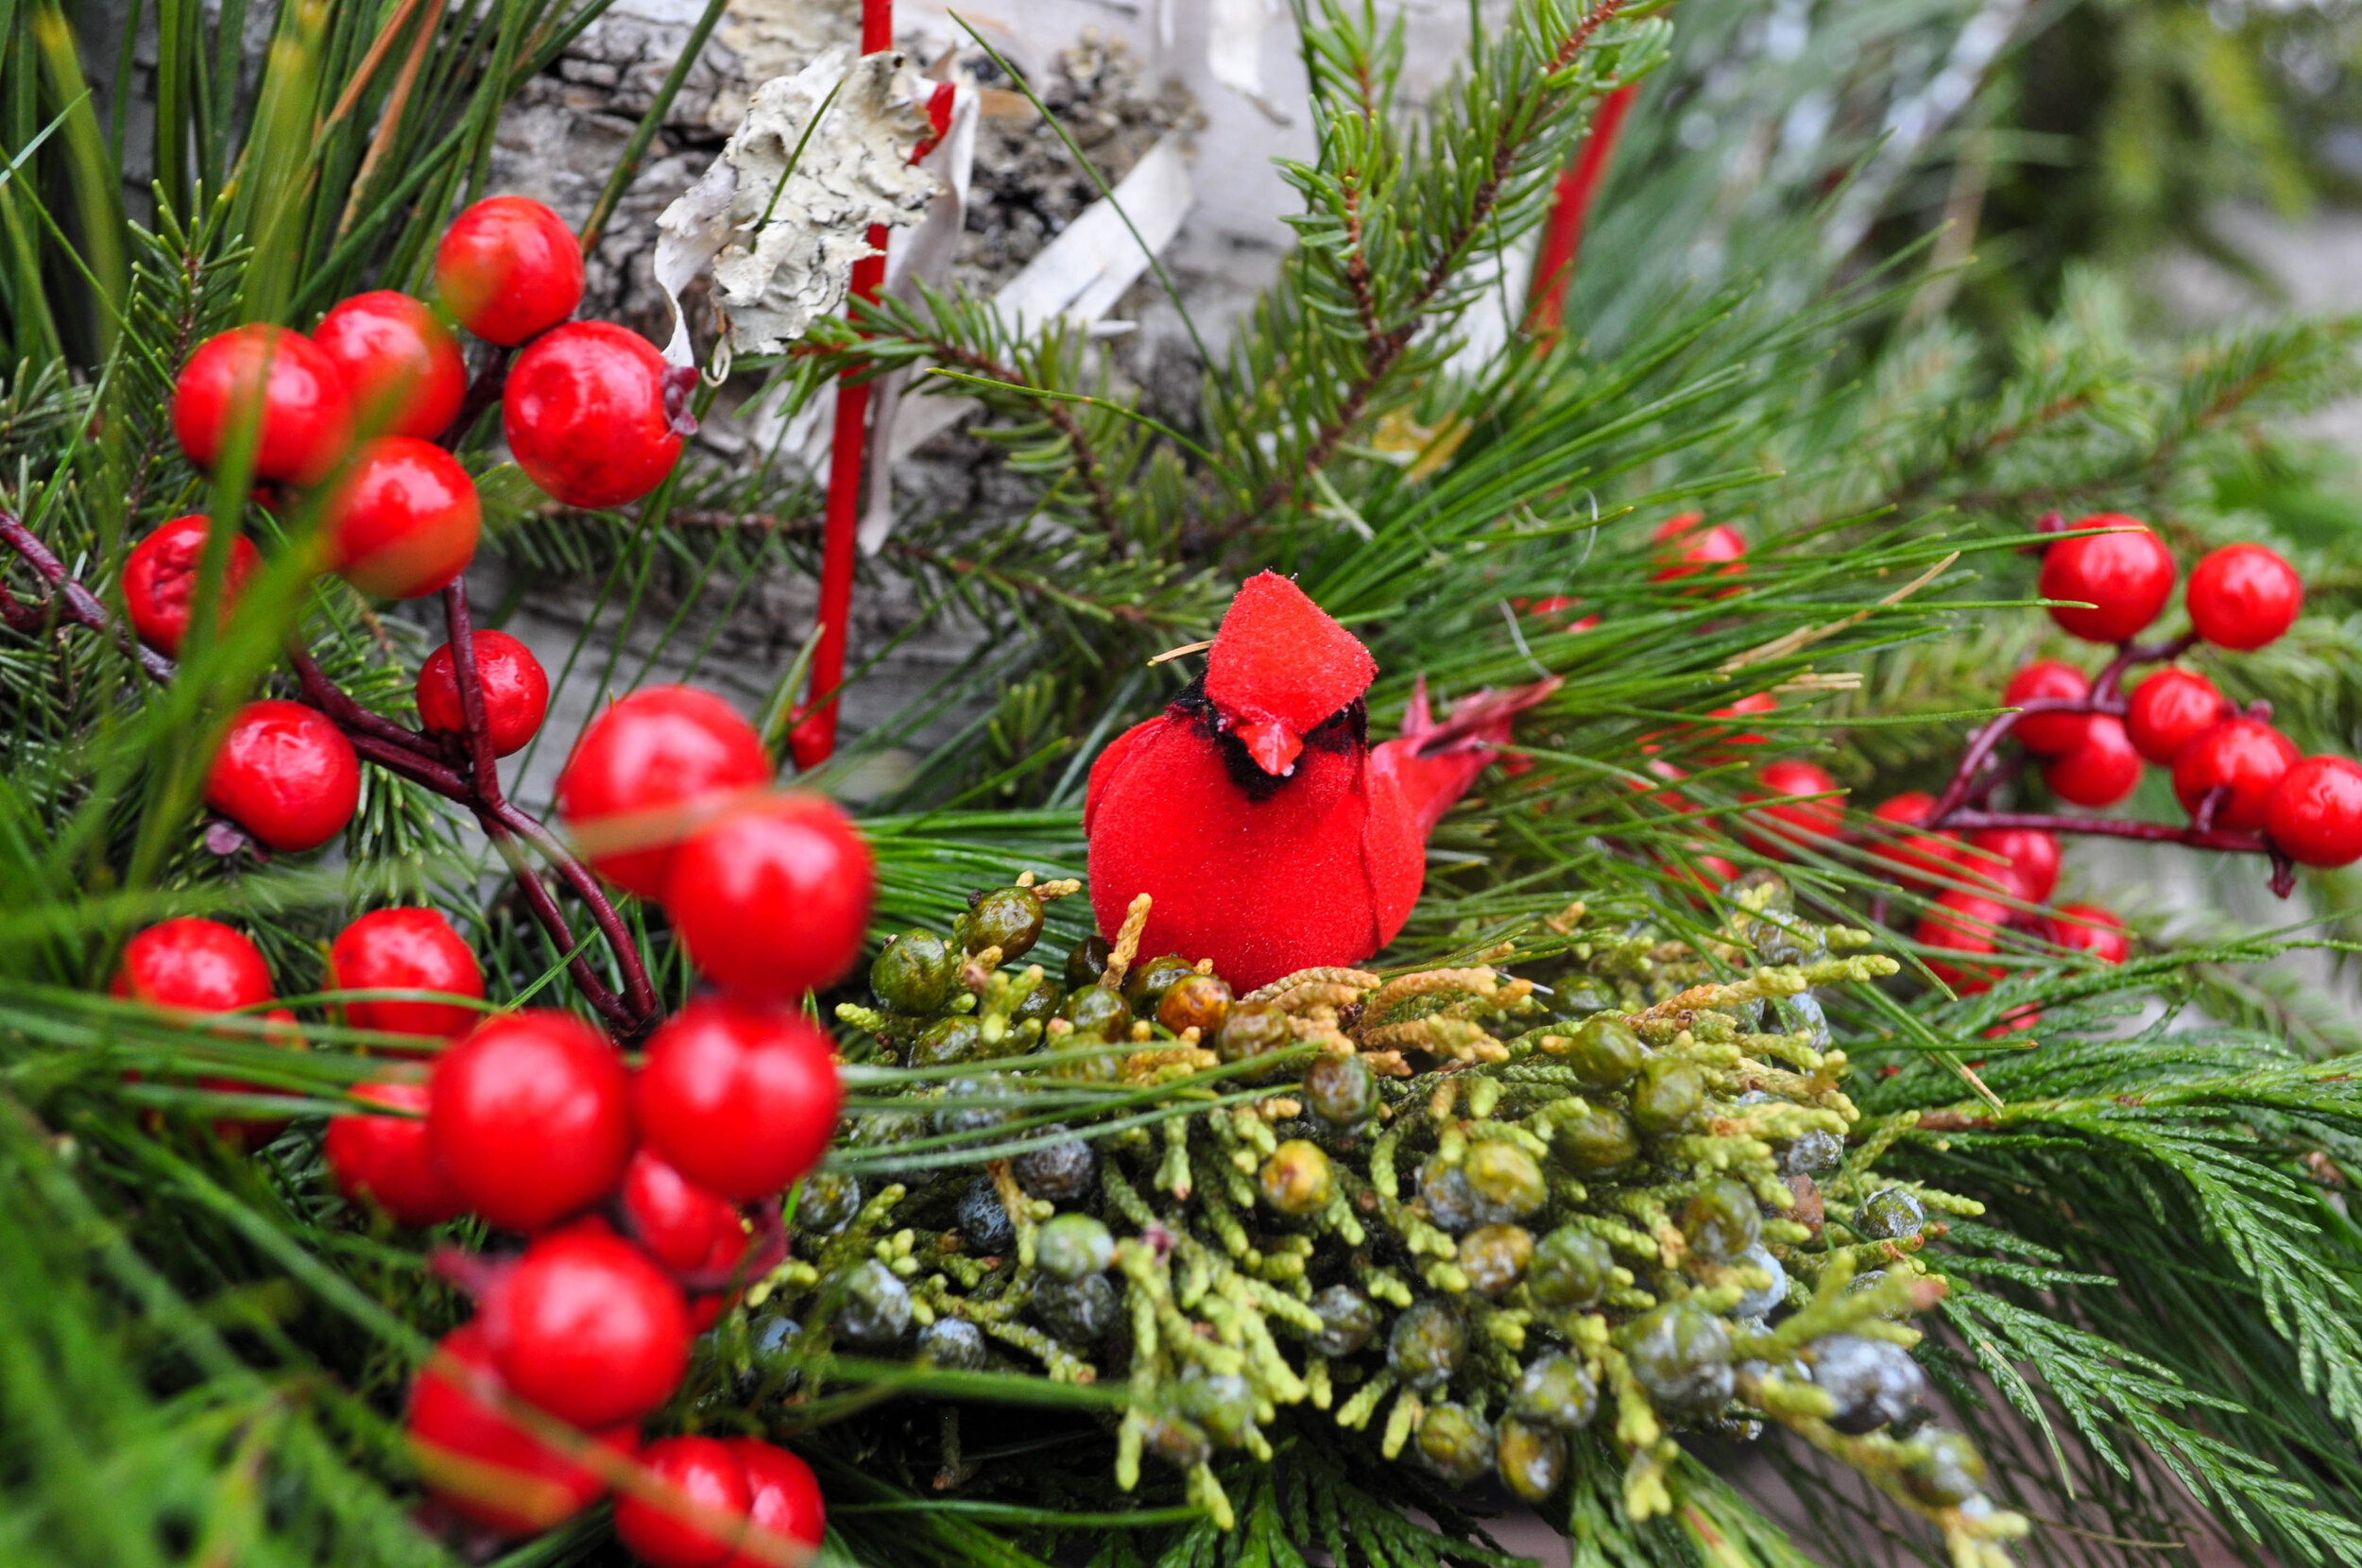
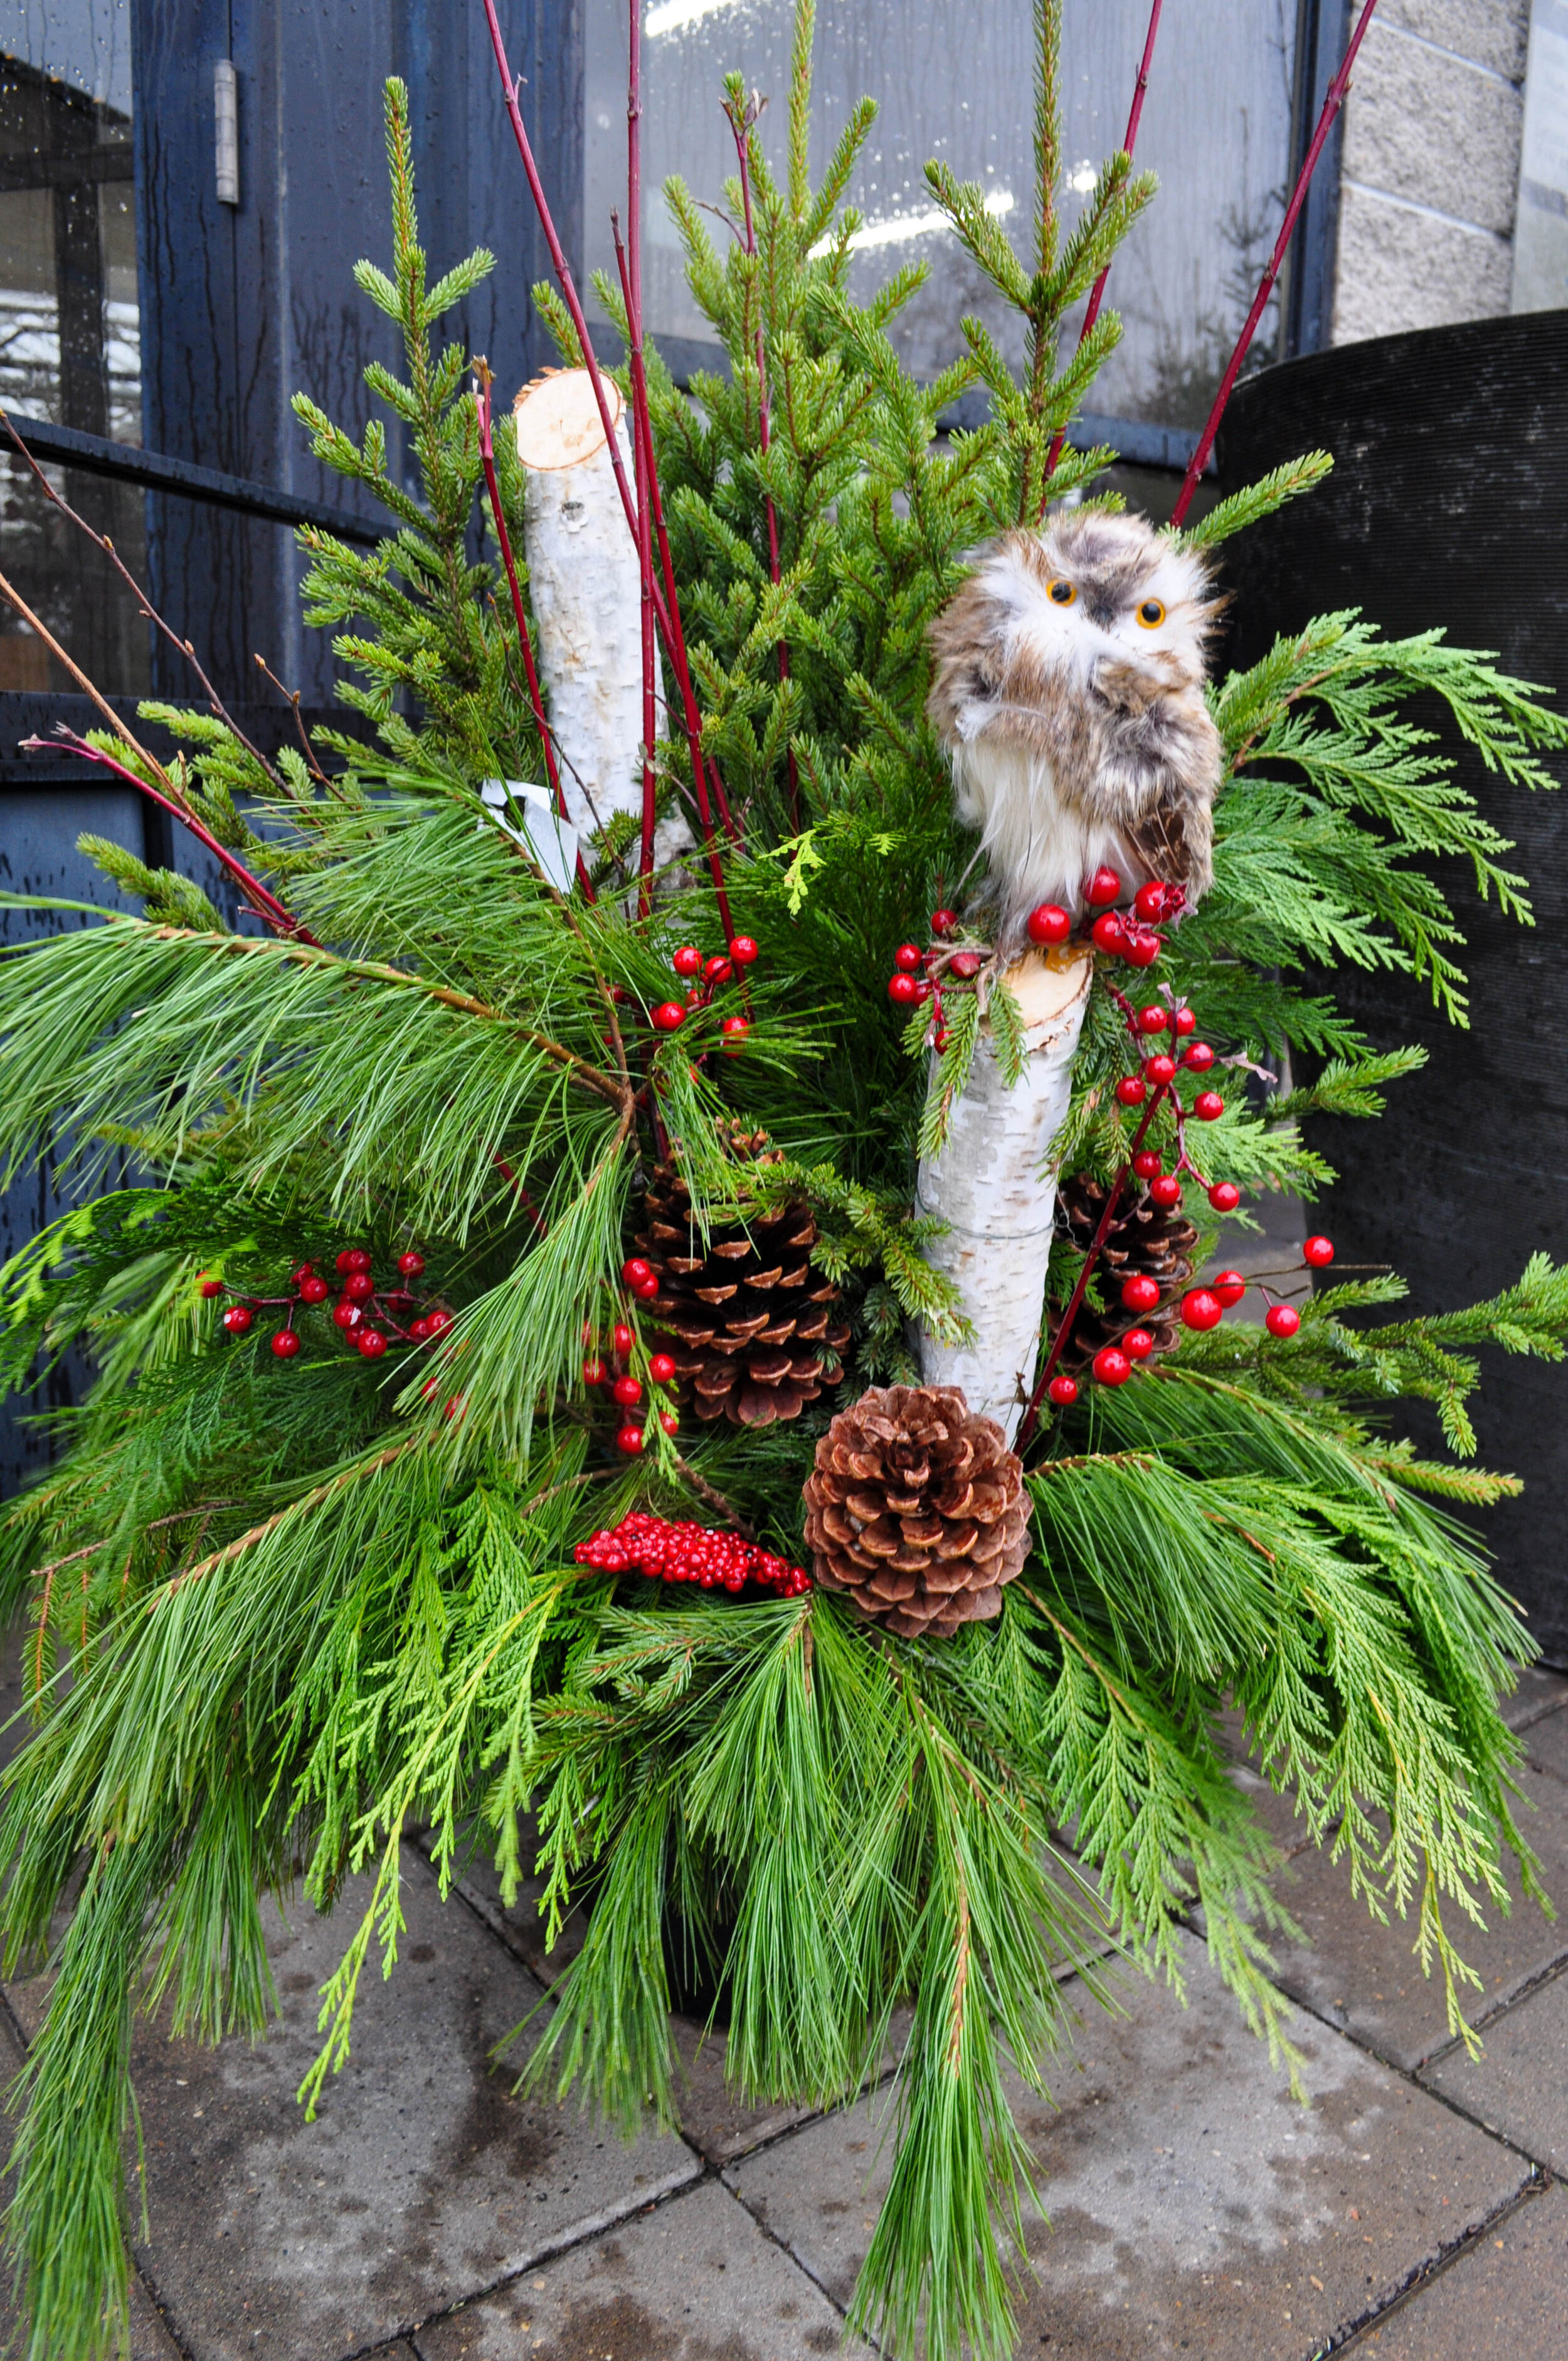
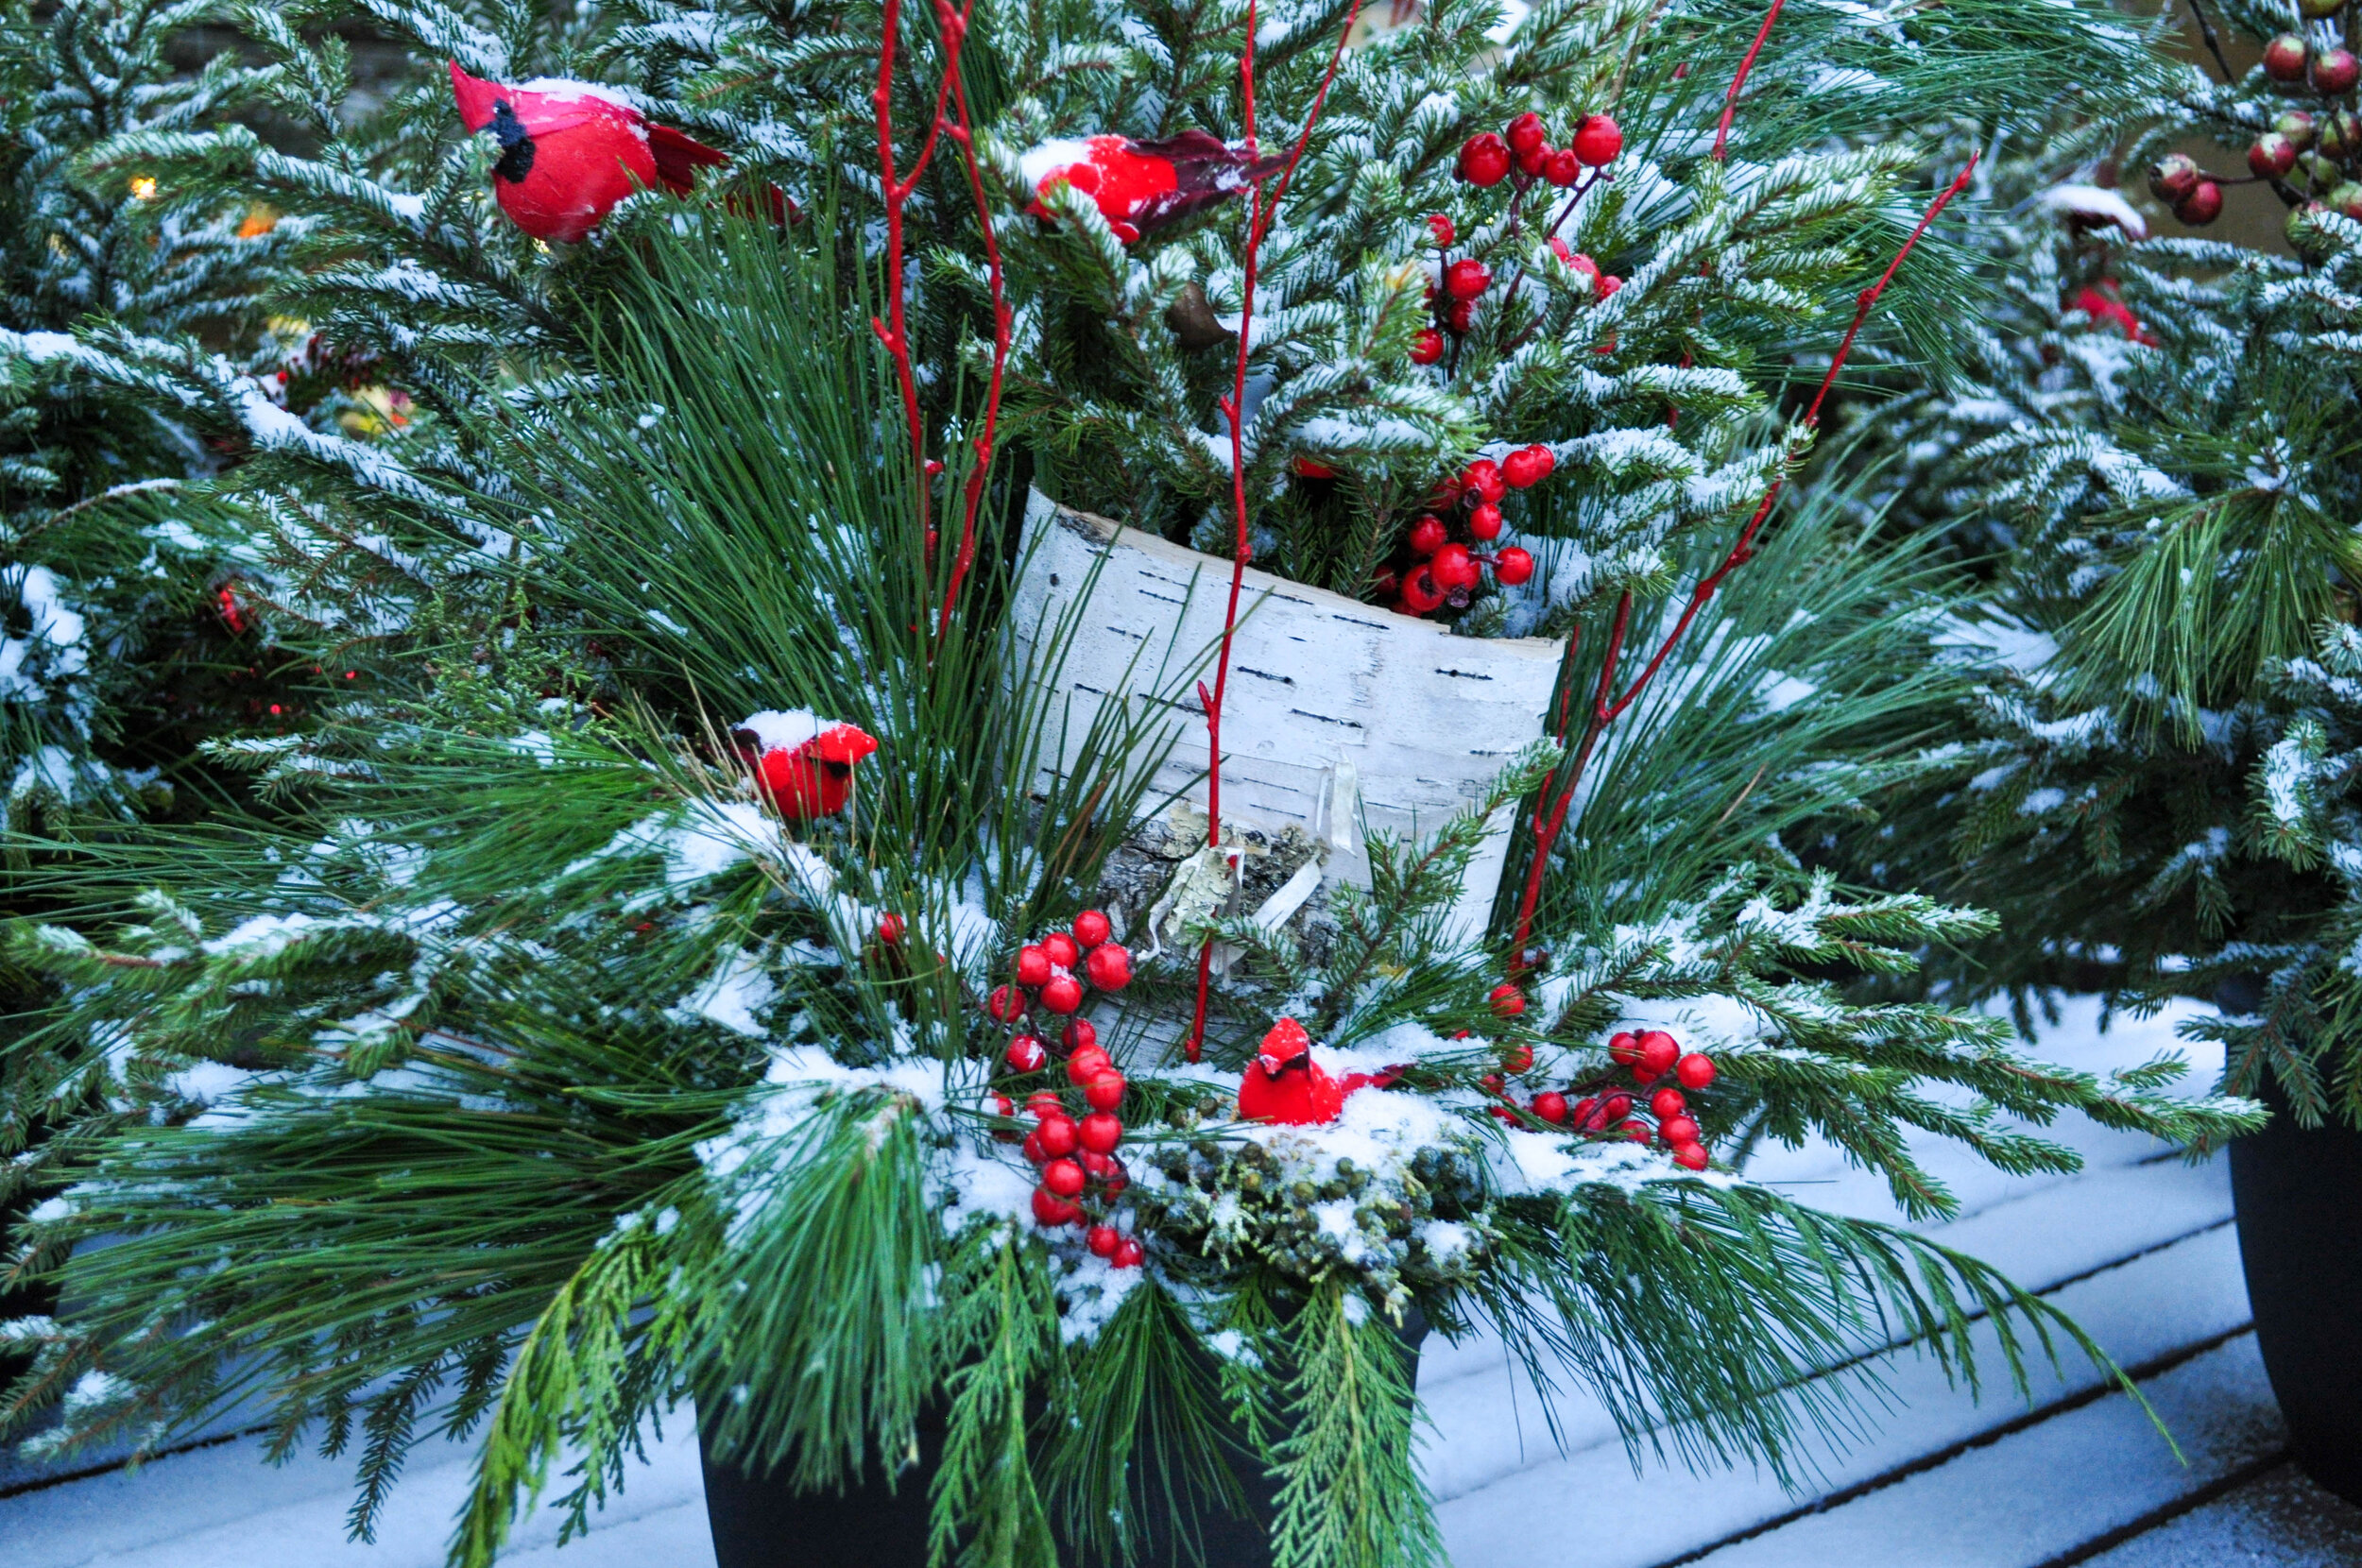
Step 3: Accents & Flair

The last step involves adding your personal touches. This is also the most fun step. Choose from natural or flashy elements. Lately, I have been drawn to more natural designs that incorporate branches, birch poles, magnolia, and pinecones. However, to each their own. Glittery, berry sprays, faux candy, and bright spheres can be added for extra flair. Choose what ever makes you feel good.
Tip: Don’t forget to spray your greens down with Wilt Stop to keep them looking fresh and green throughout the winter season.
The most important thing to remember is to have fun and keep it playful.